Complete Siding Care Guide for Long-Lasting Exterior Protection
Reading time: 14 minutes
Your home’s siding is doing more work than you probably give it credit for. Every day, it stands between your family and the wind, rain, UV rays, moisture, and everything else nature throws at it. And yet, most homeowners don’t think about their siding until something goes visibly wrong — a crack, a warp, a patch of mold the size of a dinner plate.
Here’s the straight talk: siding maintenance isn’t just about aesthetics — it’s about protecting one of your biggest financial investments. According to the National Association of Realtors 2025 Remodeling Impact Report, well-maintained siding can recover up to 76% of its replacement cost in home resale value. Neglected siding, on the other hand, can allow moisture intrusion that costs $10,000 to $50,000 in structural repairs.
This guide is your practical roadmap — whether you’re a first-time homeowner trying to understand what you’re working with, or a seasoned property owner looking to optimize your maintenance routine for 2026 and beyond.
Table of Contents
- Understanding Your Siding: Know What You’re Working With
- The Annual Inspection Playbook
- Cleaning Strategies That Actually Work
- Common Repairs and When to DIY vs. Call a Pro
- Long-Term Protection and Prevention
- Siding Material Comparison Table
- Siding Maintenance Priority Chart
- Frequently Asked Questions
- Your Siding Protection Action Plan
Understanding Your Siding: Know What You’re Working With
Before you grab a pressure washer or a bucket of paint, the most important step is identifying exactly what type of siding you have. Different materials have dramatically different maintenance needs, vulnerabilities, and lifespans. Treating vinyl like wood — or wood like fiber cement — can cause more damage than doing nothing at all.
The Major Siding Types in 2026
In 2026, the U.S. residential siding market is dominated by six primary materials, each with its own personality:
- Vinyl Siding: The most popular choice in North America, covering approximately 28% of all homes. Low maintenance, moisture-resistant, but susceptible to cracking in extreme cold and fading under prolonged UV exposure.
- Fiber Cement (e.g., HardiePlank): A rapidly growing segment — up 14% in new construction installs since 2023 — offering excellent durability, fire resistance, and resistance to insects. Requires periodic painting every 10–15 years.
- Wood Siding: Classic appeal, but demands the most attention. Without regular painting or staining every 3–7 years, wood becomes a magnet for moisture, rot, and termites.
- Engineered Wood: Combines the aesthetics of real wood with enhanced moisture resistance. Gaining popularity among eco-conscious homeowners for its lower carbon footprint.
- Aluminum Siding: Common on older homes (pre-1990s). Durable but prone to denting and oxidation. Increasingly being replaced during renovations.
- Stucco: Popular in the Southwest and Mediterranean-style homes. Beautiful but notorious for hairline cracks that, if ignored, can channel water directly into your wall cavity.
Quick Scenario: Imagine you just bought a 1970s ranch-style home. You notice the exterior has a slightly metallic sheen with horizontal grooves. That’s almost certainly aluminum siding — and your maintenance priorities are completely different from a neighbor with a 2019 fiber cement installation.
Reading the Warning Signs Early
Every siding material communicates distress in its own way. Learning to read these signals is what separates proactive homeowners from reactive ones who end up with $30,000 repair bills.
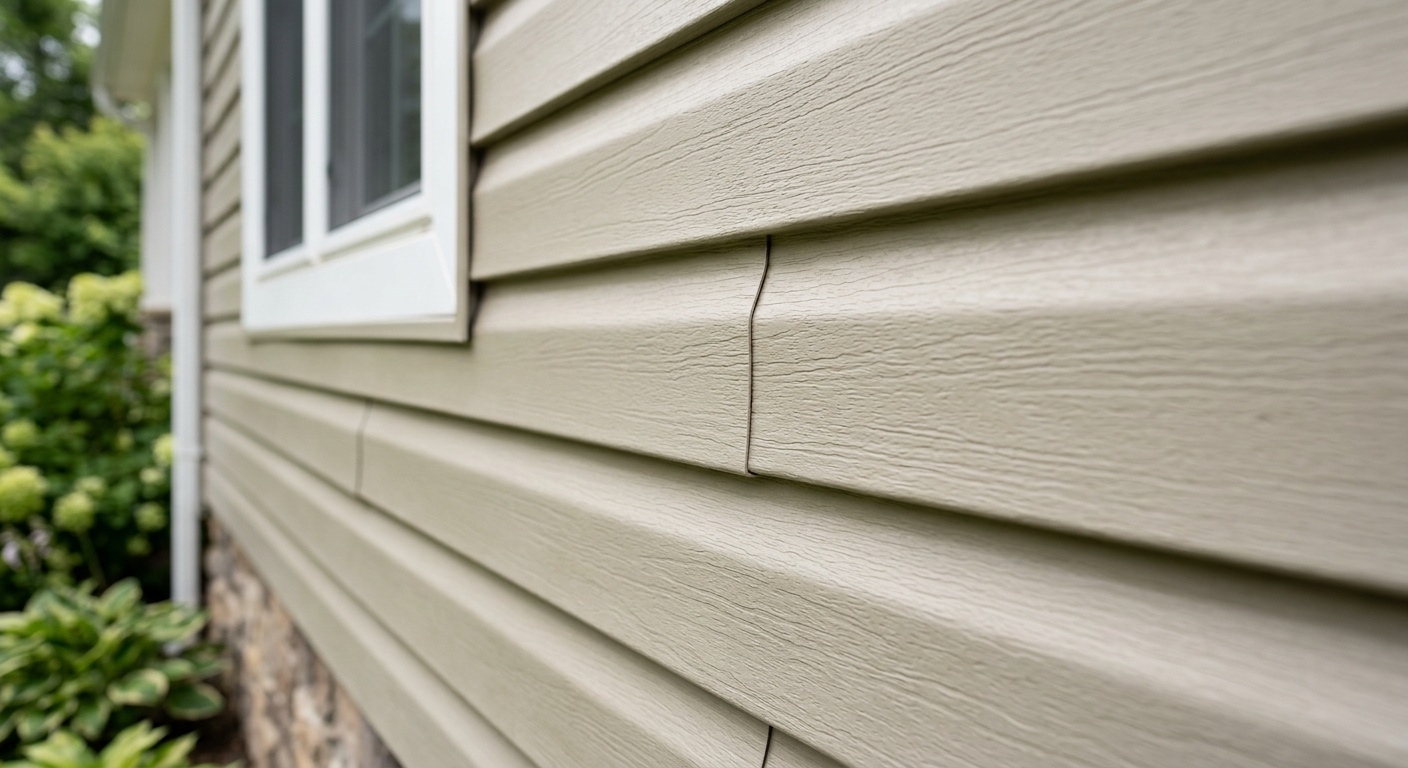
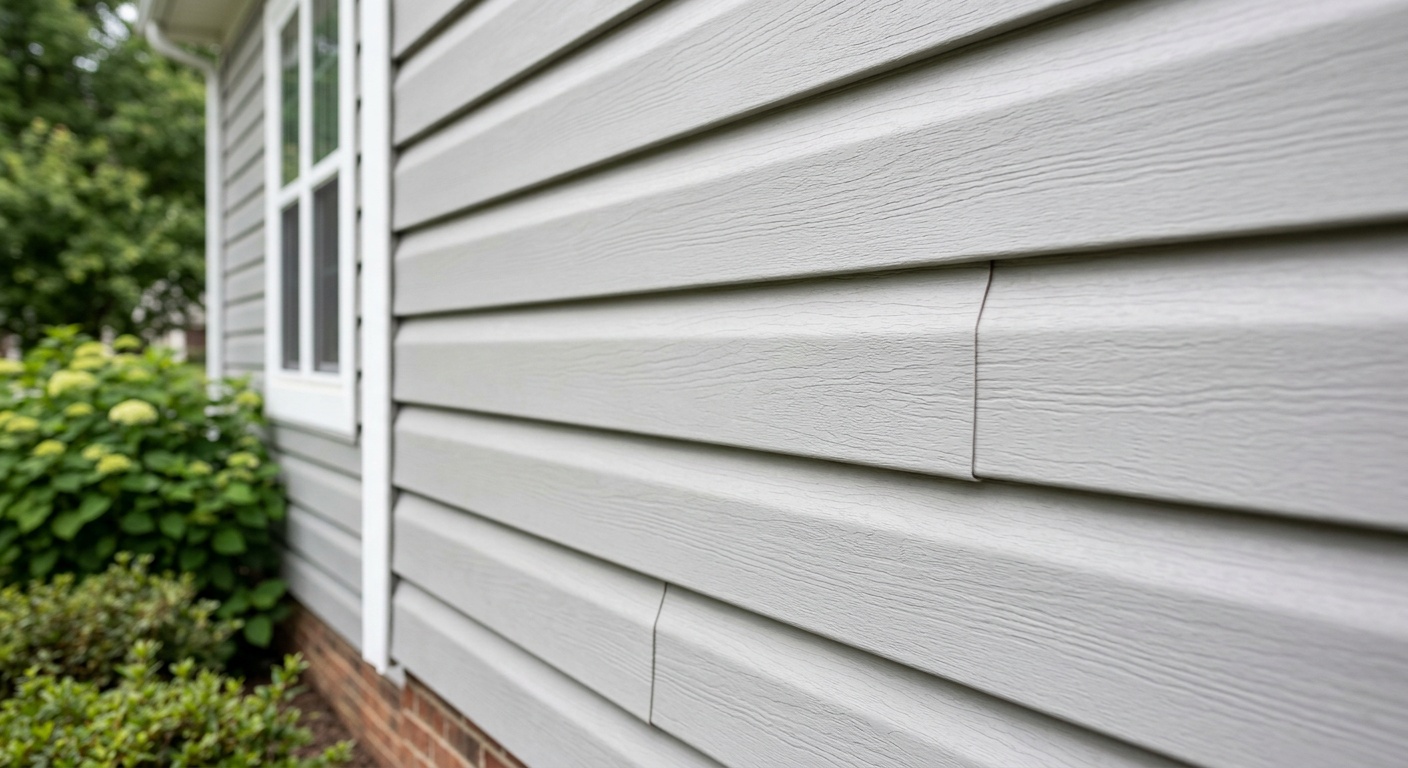
- Vinyl: Cracks, warping, gaps at seams, fading beyond normal color variation
- Fiber Cement: Bubbling paint, chalking surfaces, edge swelling near grade level
- Wood: Soft spots, dark discoloration, paint peeling in multiple layers simultaneously
- Stucco: Hairline cracks (any width), staining patterns below windows or penetrations
- Aluminum: White powdery oxidation, visible dents, separation at joints
Pro Tip: Take a dated photo inventory of your siding every spring. Over three to four years, subtle changes that would be invisible year-to-year become glaringly obvious in time-lapse comparison — especially around windows, doors, and grade-level transitions.
The Annual Inspection Playbook
Think of your annual siding inspection like a physician’s checkup — most of the time, everything is fine, but catching the one problem early is worth ten times what it saves in downstream costs. In 2026, a professional siding inspection costs between $150 and $400 depending on home size and region. Done yourself? It costs nothing but 90 minutes of focused attention.
Your Systematic Inspection Framework
Don’t just walk around your house and glance at the walls. Approach this methodically:
- Ground-Level Visual Survey: Start at one corner and walk the entire perimeter, looking for obvious cracks, gaps, discoloration, or missing sections. Note anything that catches your eye with a numbered photo.
- Close Contact Inspection: Every 6–8 linear feet, press gently on the siding with your palm. Soft spots indicate moisture damage behind the surface, even when the exterior looks fine.
- Seam and Joint Check: Pay particular attention to horizontal joints, corners, and any area where siding meets a different material (windows, doors, rooflines, pipes). These are the highest-risk entry points for water.
- Caulk Assessment: Run your finger along all caulked seams. Cracked, shrinking, or missing caulk needs immediate replacement — this is one of the cheapest repairs with the highest protective value.
- Above-Grade Clearance: Check that there’s at least 6 inches of clearance between the bottom of your siding and soil or mulch. Ground contact accelerates rot and insect damage in virtually every siding type.
- Interior Cross-Check: Inside your home, look for water stains, peeling wallpaper, or musty odors on exterior walls — these are siding failure signals that aren’t visible from outside.
Case Study: In Portland, Oregon in 2025, homeowner Marcus T. discovered during his spring inspection that the caulk around three second-story windows had completely failed — invisible from the ground but obvious up close. A $45 recaulking job prevented what his contractor estimated would have been $8,500 in wall cavity moisture remediation within 18 months.
Cleaning Strategies That Actually Work
Cleaning your siding isn’t just cosmetic. Biological growth — mold, mildew, algae, and lichen — can actually degrade certain siding materials over time. Algae, for example, retains moisture against surfaces and accelerates UV-related breakdown in vinyl and wood.
Cleaning Methods by Material Type
The biggest cleaning mistake homeowners make is using a pressure washer incorrectly — either on the wrong material, at too high a PSI, or at the wrong angle. Here’s the precise approach for each major type:
- Vinyl Siding: A soft wash (low-pressure with a cleaning solution) is ideal. Use a solution of 30% white vinegar and 70% water for light mildew, or a dedicated vinyl cleaner for heavier buildup. Pressure wash at no more than 1,300 PSI, always directing the spray downward to prevent water intrusion behind panels. Never spray upward into the seams.
- Fiber Cement: Similar soft-wash approach. Avoid high pressure near joints. Rinse thoroughly — soap residue can attract more dirt. Annual cleaning extends paint life significantly.
- Wood Siding: Hand-washing with a soft brush and mild detergent is preferred. If pressure washing, stay below 1,200 PSI and maintain at least 18 inches of distance. High pressure can raise wood grain, creating perfect conditions for moisture absorption.
- Stucco: Low pressure only (under 1,000 PSI). Never spray directly at cracks — you’ll force water deeper. Clean perpendicular to the surface, not at an angle.
- Aluminum: Gentle pressure washing is fine. Use a car-wash type detergent to avoid stripping any remaining painted surface or accelerating oxidation.
Timing your cleaning matters too. Wash siding on overcast days when temperatures are between 50°F and 80°F. Direct sunlight causes cleaning solutions to evaporate too quickly, leaving residue. Cold temperatures can cause certain cleaners to streak or freeze in joints.
Expert Insight: “The number-one soft-wash mistake we see is homeowners using bleach concentrations that are too high,” says James Kowalski, a certified exterior restoration specialist based in Atlanta. “Full-strength bleach can discolor vinyl, strip protective coatings, and kill the landscaping below. A 3% sodium hypochlorite solution with a surfactant is effective and safe for most residential applications.”
Common Repairs and When to DIY vs. Call a Pro
Not every siding problem requires a professional. But knowing which problems are genuinely DIY-friendly — and which ones look simple but hide serious complexity — can save you from making expensive mistakes.
DIY-Friendly Repairs
- Recaulking joints and seams: One of the highest-value DIY tasks in home maintenance. Remove old caulk completely with a utility knife and caulk remover, clean the joint, and apply a high-quality paintable polyurethane or siliconized acrylic caulk rated for exterior use. Cost: $15–$40 in materials.
- Replacing individual vinyl panels: Vinyl siding panels interlock, and individual damaged sections can be “unzipped” using a zip tool (available for under $15) and replaced without affecting surrounding panels. Match the profile and color carefully — sun-faded panels may not match new stock.
- Spot-painting wood or fiber cement: Small areas of chipped or peeling paint can be scraped, primed with an exterior-grade primer, and repainted. This is only practical for isolated spots; widespread peeling signals a need for full repaint.
- Clearing debris from behind siding: Leaves and organic material packed against or behind siding accelerates moisture retention. Clear it seasonally.
When to Call a Professional
- Any stucco crack repair: Hairline stucco cracks look minor but require proper surface preparation, compatible patching compound, and correct texture matching. Improper patches fail within one to two seasons, often making the underlying problem worse.
- Moisture intrusion behind walls: If your inspection reveals soft spots, interior water stains, or visible mold, a professional moisture assessment is non-negotiable. This situation requires identifying and correcting the water pathway — not just patching the surface.
- Large-section replacement: Replacing more than 10–15 linear feet of any siding type typically involves flashing adjustments, proper overlap sequencing, and integration with existing moisture barriers. Mistakes here create the exact problems you’re trying to prevent.
- Lead paint concerns: Homes built before 1978 may have lead-based paint on their siding. Any scraping or sanding requires EPA-certified renovation practices. This is a legal and health requirement, not just a recommendation.
Case Study: In 2025, a homeowner in Charlotte, NC attempted to patch a soft spot in her engineered wood siding herself. She replaced the surface panel but didn’t address the failed flashing above the window that was causing the moisture. Six months later, the new panel had the same problem — plus the wall cavity had developed a mold colony requiring $12,000 in remediation. A professional assessment upfront would have cost $250 and caught the root cause immediately.
Long-Term Protection and Prevention
The most cost-effective siding strategy isn’t better repairs — it’s preventing damage in the first place. Several proactive measures consistently deliver outsized protection across every siding type.
- Maintain proper landscaping clearance: Shrubs and plants touching your siding create permanent moisture contact zones. Maintain at least 12 inches of clearance between plantings and your home’s exterior walls.
- Manage roof runoff: Ensure gutters are clean and properly pitched. Overflowing gutters direct cascading water directly onto siding surfaces — one of the most common causes of localized deterioration.
- Apply protective coatings strategically: For wood and fiber cement siding, high-quality exterior paint or stain is your primary moisture barrier. In 2026, several manufacturers now offer paint products with integrated mildewcide and UV stabilizers, extending repaint intervals to 12–15 years under ideal conditions.
- Upgrade your house wrap if renovating: If you’re replacing siding, upgrade to a modern vapor-permeable house wrap (products like Huber’s ZIP System or DuPont Tyvek HomeWrap) rather than reusing the existing moisture barrier. Modern wraps dramatically outperform materials installed more than 15 years ago.
- Install insulated siding where possible: In 2026, insulated vinyl and fiber cement options have become mainstream. These products reduce thermal bridging, lower energy bills, and add structural rigidity that reduces flexing and cracking over time.
Siding Material Comparison Table
| Material | Avg. Lifespan | Maintenance Level | Avg. Cost/sq ft (2026) | Best Climate Fit |
|---|---|---|---|---|
| Vinyl | 20–40 years | Low | $3.50–$8.00 | Moderate climates |
| Fiber Cement | 25–50 years | Low–Medium | $6.00–$13.00 | All climates |
| Wood | 10–30 years | High | $7.00–$14.00 | Dry, mild climates |
| Stucco | 50–80 years | Medium | $6.00–$12.00 | Dry/Southwest climates |
| Aluminum | 20–35 years | Low–Medium | $3.00–$6.50 | Coastal, humid areas |
Siding Maintenance Priority Chart
Based on 2026 industry data from the Siding Contractors Association, here’s how common maintenance tasks rank in terms of their protective impact per dollar spent:
Annual Caulk Inspection & Replacement
Gutter Cleaning & Runoff Management
Annual Visual Inspection
Soft Washing / Cleaning
Landscaping Clearance Maintenance
Source: Siding Contractors Association — Residential Maintenance Value Index, 2026
Frequently Asked Questions
How often should I clean my home’s siding?
For most climates, a thorough annual cleaning is sufficient. However, homes in humid or heavily wooded environments — where mold, mildew, and algae thrive — should consider cleaning twice yearly, typically in spring and fall. In drier climates like Arizona or Nevada, every 18 months may be adequate. The key signal is visible biological growth or a noticeable dulling of color: don’t wait for a scheduled date if your siding is showing signs of contamination. Early biological removal prevents deeper material degradation and extends the time between more intensive maintenance.
What is the biggest mistake homeowners make with siding maintenance?
Without question, it’s ignoring caulk failure at seams, joints, and penetrations. Caulk is the most underappreciated component of any siding system — it’s the primary seal between your building envelope and water intrusion. It’s cheap, it’s fast to replace, and its failure is the leading cause of the expensive moisture damage that destroys wall assemblies. Most exterior caulk has a practical life of 5–10 years depending on climate and product quality. A tube of quality exterior caulk costs $8–$15. The moisture damage it prevents can cost tens of thousands. Inspect every linear inch of caulked seam every single year.
Is pressure washing safe for all types of siding?
Not without important caveats. Pressure washing is generally safe for vinyl, fiber cement, and aluminum when done correctly — meaning at appropriate PSI levels (1,000–1,500), with the spray directed downward at a slight angle, and never directly into seams or joints. Wood siding is more vulnerable; high pressure can damage the grain structure and actually increase moisture absorption afterward. Stucco is the most pressure-sensitive: even moderate pressure directed at cracks can force water into the wall cavity. For stucco, soft washing (low-pressure with chemical cleaners) is almost always the better choice. When in doubt, hire a professional who understands material-specific protocols.
Your Siding Protection Action Plan
You don’t need to do everything at once. The best siding care strategy is a consistent, prioritized routine — not a reactive scramble every time something breaks. Here’s your immediate roadmap:
- This Week: Walk the full perimeter of your home and photograph every side of your exterior. Note any visible cracks, gaps, discoloration, or areas where siding meets windows, doors, or rooflines. This baseline photo inventory is your most valuable diagnostic tool.
- This Month: Assess all exterior caulking. Run your finger along every joint — windows, doors, corners, utility penetrations. Replace any caulk that is cracked, missing, or pulling away from the substrate. Budget $30–$80 in materials for most homes.
- This Season: Schedule or perform your annual cleaning, using the material-appropriate method described in this guide. Clear all vegetation within 12 inches of your home’s walls and ensure gutters are clean and properly directing runoff away from your foundation.
- This Year: If your siding is wood or painted fiber cement and hasn’t been repainted in over 8 years, get a professional assessment of the paint condition. Proactive repainting is dramatically cheaper than moisture remediation after paint failure.
- By 2027: If your siding is approaching the upper end of its expected lifespan — particularly if it’s aluminum installed before 1995 or wood that has been repaired multiple times — begin researching replacement options. Fiber cement and insulated vinyl represent the best value propositions in the current market.
As climate patterns in 2026 continue to deliver more extreme weather events — from prolonged heatwaves to intense storm seasons — the structural role of your siding system has never been more critical. Homes with well-maintained exterior envelopes are measurably more resilient to weather damage, more energy-efficient, and significantly more valuable on the resale market.
The question isn’t whether your siding needs attention — every home’s exterior does, at every age. The question is whether you’re managing it strategically, or waiting for a problem to force your hand. Start with one item from the list above, today. Your home — and your future self — will thank you for it.