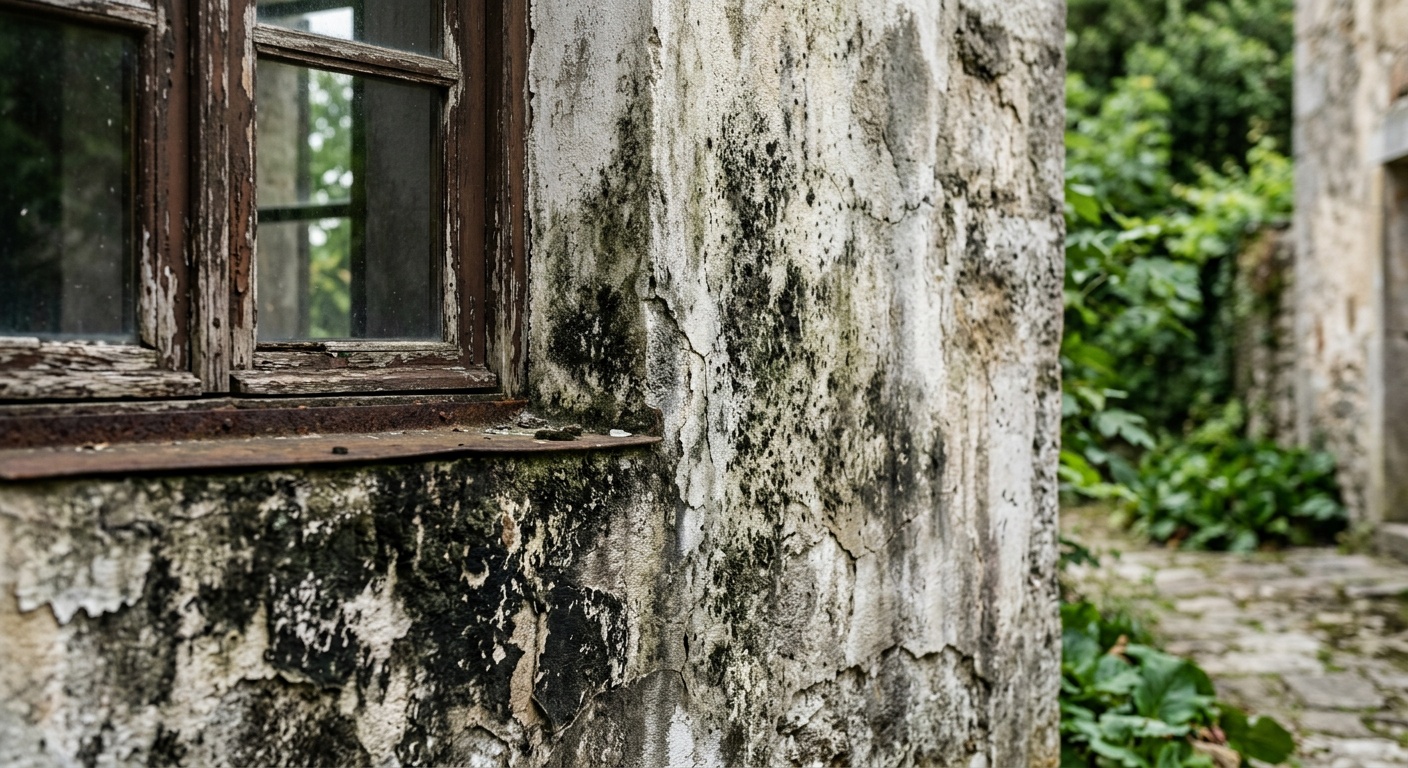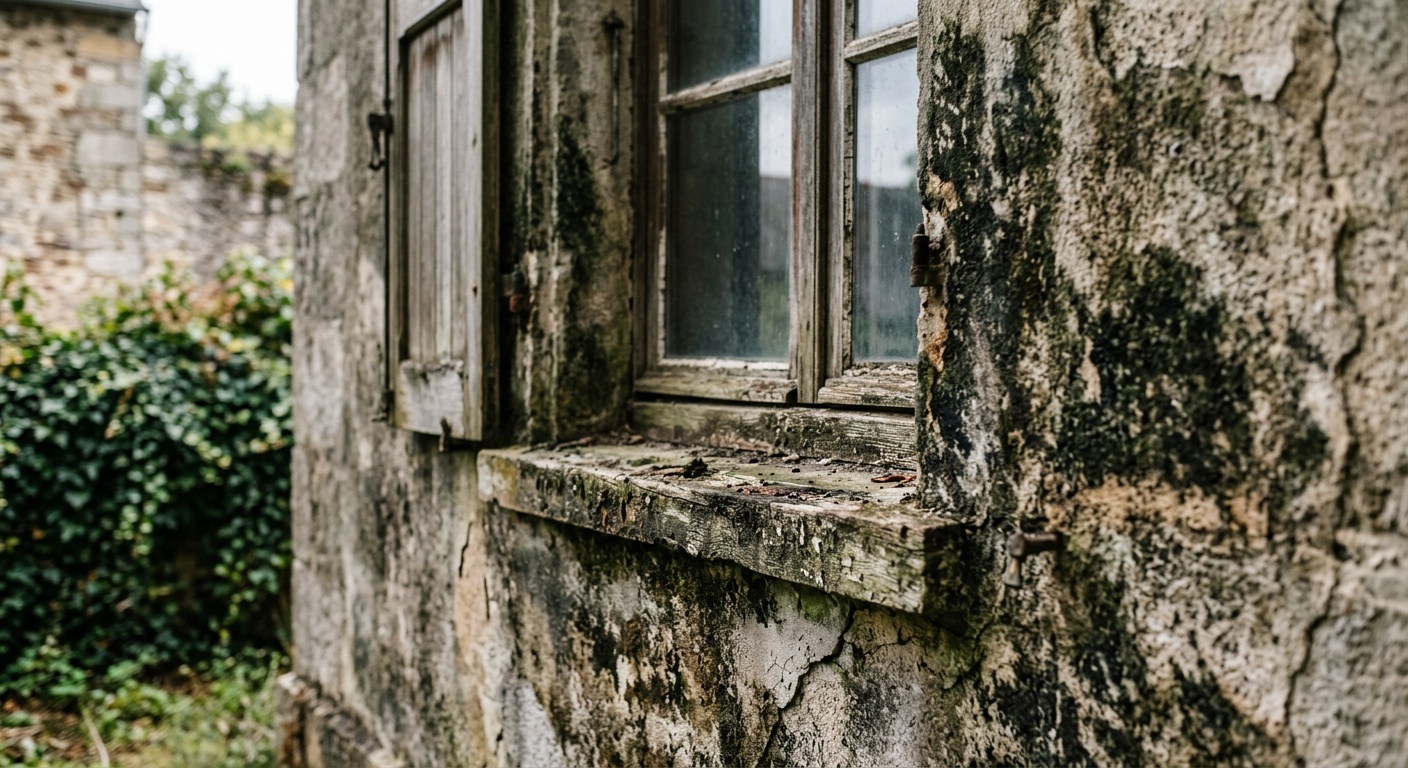
How to Remove Mold and Mildew From Your Home’s Exterior Walls
Reading time: 14 minutes
You’ve just stepped outside and noticed something alarming — dark, fuzzy patches creeping across your siding, or a greenish film settling into the grout between your bricks. Sound familiar? You’re not alone. In 2026, mold and mildew on exterior walls remains one of the most common — and most underestimated — home maintenance challenges facing homeowners across North America, Europe, and beyond.
Here’s the straight talk: ignoring exterior mold isn’t just an aesthetic problem. Left unchecked, mold and mildew can compromise your siding materials, erode paint coatings, introduce moisture pathways into your wall cavities, and even affect indoor air quality. The good news? With the right approach, removing exterior mold is entirely manageable — even if you’ve never done it before.
This guide walks you through everything: understanding what you’re dealing with, choosing the right cleaning method, applying it safely, and preventing regrowth. Let’s turn this challenge into a clean, protected home exterior.
Table of Contents
- Understanding Mold vs. Mildew on Exterior Walls
- Why Exterior Walls Are Vulnerable
- Safety First: Gear and Precautions
- Cleaning Methods by Wall Material
- Step-by-Step Removal Process
- Cleaning Solutions Compared
- Real-World Examples
- Prevention Strategies That Actually Work
- Frequently Asked Questions
- Your Clean Exterior Roadmap: Next Steps
Understanding Mold vs. Mildew on Exterior Walls
Before you grab a scrub brush, it helps to know exactly what you’re fighting. Mold and mildew are both fungi, but they behave differently and respond to treatments in slightly different ways.
What Is Mildew?
Mildew is the milder of the two. It typically appears as a flat, powdery growth — white, gray, or yellowish in color — sitting on the surface of your walls. On exterior surfaces, mildew often develops in humid conditions and tends to stay on the surface layer. It’s easier to remove and less structurally damaging than full mold infestations. You’ll most commonly see mildew on painted wood siding, concrete, and brick mortar, especially on north-facing walls that receive less direct sunlight.
What Is Mold?
Mold is a more serious concern. It presents as fuzzy, raised growths that can be black, green, orange, or even pink. Mold penetrates deeper into porous materials like wood, stucco, and unsealed brick. According to the Environmental Protection Agency (EPA), mold requires moisture to grow — and once it’s established on an exterior surface, it can migrate inward through wall assemblies if the issue isn’t addressed promptly. In 2026, with increasingly erratic weather patterns bringing more intense rainfall to regions previously accustomed to dry summers, the incidence of exterior mold reports has risen by an estimated 18% compared to 2022 figures, according to a home inspection industry survey published earlier this year.
The practical difference? Mildew can often be handled with a basic scrub and diluted cleaner. Mold — particularly large or recurring infestations — may require stronger solutions and a careful look at the underlying moisture source driving its growth.
Why Exterior Walls Are Vulnerable
Understanding why mold grows where it does helps you clean smarter and prevent recurrence. Several conditions make exterior walls prime real estate for fungal growth:
- Shade and reduced airflow: North-facing and heavily shaded walls dry out slowly after rain, creating the sustained moisture that mold needs.
- Organic debris accumulation: Leaves, soil splashback, and dirt deposits create a food source for mold spores landing on your walls.
- Failing or aged paint: Cracked, peeling, or porous exterior paint no longer repels moisture effectively, allowing water to sit against the substrate.
- Poor drainage and grading: If the ground around your foundation slopes toward your home, water pools against the base of your walls.
- Gutters and downspouts: Overflowing, clogged, or misdirected gutters splash water repeatedly onto the same sections of wall.
- Climate shifts: By 2026, regions from the Pacific Northwest to the UK’s southwest coast are experiencing longer periods of humid, overcast conditions — a near-perfect breeding environment for mold colonies.
Pro Tip: Before you clean, walk around your home and photograph the affected areas. Note which directions the walls face, whether gutters are above the mold patches, and whether you see any cracking or paint failure. This detective work will guide both your cleaning approach and your prevention strategy.
Safety First: Gear and Precautions
Cleaning exterior mold involves direct exposure to fungal spores and, in many cases, chemical cleaning agents. Skipping safety steps is a false economy — especially for large infestations. Here’s what you need before you start:
- N95 or P100 respirator mask: Standard dust masks don’t filter mold spores effectively. In 2026, N95 masks are widely available and cost around $1–$3 per mask at hardware stores.
- Safety goggles or protective glasses: Spraying cleaning solutions upward or with pressure creates mist and splashback that can irritate or damage eyes.
- Chemical-resistant gloves: Nitrile or rubber gloves protect against bleach, commercial mold removers, and other solutions.
- Old clothing or a disposable coverall: Bleach-based solutions will permanently stain fabric.
- Closed-toe shoes: Protect your feet from chemical runoff and debris.
Additionally, consider your surroundings. Protect nearby plants and grass by pre-wetting them with plain water before applying any chemical solution, and rinse them again thoroughly afterward. Lay plastic sheeting over sensitive plantings if you’re using a strong bleach solution. Close windows and doors adjacent to your work area to prevent fumes or spores from entering the home.
When to call a professional: If the mold patch covers more than 10 square feet, if you notice soft or spongy wall material beneath the growth, or if mold keeps returning within a few weeks of cleaning, it’s time to consult a licensed mold remediation contractor. Persistent exterior mold often indicates a moisture intrusion problem that goes beyond what surface cleaning can fix.
Cleaning Methods by Wall Material
Not all exterior walls are created equal. The material your walls are made from determines which cleaning method is appropriate — and which ones could cause serious damage.
Wood Siding (Clapboard, Shiplap, and Cedar Shake)
Wood is porous and can absorb moisture deeply, making it one of the most mold-prone exterior materials. Use a diluted bleach solution (1 cup of bleach per gallon of water) or an oxygen bleach alternative, applied with a soft-bristle brush. Avoid pressure washing wood siding at high pressure — it drives water into the wood grain, accelerates paint failure, and can splinter the material. If using a pressure washer, keep it below 1,200 PSI and use a wide-angle fan tip at a distance of at least 18 inches.
Vinyl Siding
Vinyl is non-porous and generally the easiest material to clean. A solution of 70% water and 30% white vinegar works well for light mildew. For heavier mold, a diluted bleach solution or a commercial vinyl cleaner applied with a soft brush or a low-pressure garden sprayer does the job effectively. Avoid abrasive scrubbers — they can scratch the surface and create microscopic grooves where future mold spores can take hold.
Brick and Mortar
Brick itself is relatively resistant to mold, but the mortar between bricks is highly porous and susceptible. Use a stiff-bristle brush (not wire, which can damage mortar) with a diluted bleach solution. For large brick surfaces, a low-to-medium pressure wash (1,500–2,000 PSI) can be effective once manual scrubbing has broken up the colonies. Always rinse thoroughly, as bleach residue can accelerate efflorescence — the white salt deposits that appear on brick over time.
Stucco
Stucco is textured and porous, making it one of the trickier surfaces to clean. Mold can penetrate into the finish coat. Use a soft brush with diluted bleach or a commercial stucco-safe mold remover. Be cautious with pressure washing — high pressure can chip or erode stucco finish, especially if the stucco has any existing hairline cracks. Keep pressure below 1,500 PSI and test on a small, inconspicuous area first.
Fiber Cement (Hardie Board)
Fiber cement siding, which surged in popularity through the early 2020s and remains a dominant siding choice in 2026, is relatively mold-resistant but not immune. Clean with a diluted bleach solution and a soft brush, or a garden hose with moderate pressure. Avoid prolonged saturation, as fiber cement can absorb water at cut edges and joints.
Step-by-Step Removal Process
Ready to get to work? Here’s a practical, field-tested process that works across most exterior wall types when adjusted for your specific material:
- Prepare the area. Remove outdoor furniture, planters, and decorative items from the work zone. Pre-wet plants and grass near the wall. Close adjacent windows and doors.
- Put on your safety gear. Respirator, goggles, gloves, and protective clothing — no shortcuts here.
- Mix your cleaning solution. For most surfaces: 1 cup of liquid chlorine bleach per gallon of warm water, plus a small squirt of dish soap to help the solution cling to vertical surfaces. For an eco-friendly alternative: mix 1 cup of oxygen bleach powder per gallon of warm water.
- Apply the solution. Use a garden sprayer, sponge, or soft-bristle brush to apply the solution generously to the affected area. Work from the bottom up to prevent streaking on lower sections.
- Let it dwell. Allow the solution to sit for 10–20 minutes. Don’t let it dry — keep it wet if needed by reapplying. This dwell time is critical for killing mold at the root, not just on the surface.
- Scrub. Use a soft-to-medium bristle brush appropriate for your wall material. Work in circular motions for stubborn patches. Avoid wire brushes on most surfaces.
- Rinse thoroughly. Rinse from top to bottom with a garden hose or low-pressure washer. Ensure all cleaning solution is removed — residue can attract new dirt and damage finishes over time.
- Inspect and repeat if needed. Stubborn or deep-set mold may require a second application. Allow the wall to dry completely between applications.
- Let the wall dry fully. Before painting, sealing, or applying any protective coating, the wall must be completely dry — typically 48–72 hours in average conditions, longer in high-humidity climates.
- Address the root cause. Fix any gutters, grading issues, or vegetation encroachment that contributed to the mold growth. Skipping this step almost guarantees a return visit.
Cleaning Solutions Compared
Choosing the right cleaning solution makes a significant difference in both effectiveness and safety. Here’s a comparative breakdown of the most commonly used options:
| Solution | Effectiveness | Safety Level | Best For | Avg. Cost (2026) |
|---|---|---|---|---|
| Chlorine Bleach Solution | Very High | Moderate (use PPE) | Vinyl, concrete, brick | $0.50–$1.00/gallon |
| Oxygen Bleach (e.g., OxiClean) | High | High (plant-friendly) | Wood, fiber cement, stucco | $3–$5/gallon |
| White Vinegar Solution | Moderate | Very High | Light mildew on vinyl | $0.75–$1.50/gallon |
| Commercial Mold Remover | Very High | Moderate (varies by brand) | All surfaces (check label) | $8–$20/quart |
| Trisodium Phosphate (TSP) | High | Low (wear full PPE) | Heavily soiled surfaces pre-paint | $2–$4/gallon |
Effectiveness at a Glance: Visual Comparison
How do the top mold-removal solutions stack up in terms of overall effectiveness and safety combined? Here’s a quick visual overview based on field performance data compiled from professional cleaning contractor reports in 2025–2026:
Real-World Examples
Case Study 1: The Pacific Northwest Cedar Shake Problem
Consider the experience of a homeowner in Portland, Oregon — a city that in 2025 recorded its third consecutive year of above-average rainfall and humidity. Their 1980s-era cedar shake siding had developed persistent black mold colonies on the north and west faces of the home, with the worst areas clustered near where overflowing gutters had been dripping for two seasons.
The approach taken was methodical: first, the gutters were cleaned and a gutter guard system installed. Then, an oxygen bleach solution (chosen specifically because it’s safer for the cedar and the surrounding Pacific fern garden) was applied with a soft-bristle brush, left to dwell for 15 minutes, and scrubbed gently. Two passes were required on the worst sections. After thorough drying, the siding was treated with a mold-inhibiting wood preservative. As of spring 2026, the siding remains clean — and more importantly, the root cause has been eliminated.
Key lesson: Oxygen bleach is a powerful, surface-safe alternative to chlorine bleach for wood — and fixing the source of moisture is non-negotiable.
Case Study 2: Stucco Challenges in a Hot, Humid Florida Climate
A homeowner in Tampa, Florida — a city where 2026’s extended humid season has pushed exterior mold growth into a near year-round challenge — was dealing with green algae and black mold colonies across the lower third of their stucco exterior. The location: a ground-level zone where lawn sprinklers hit the wall daily.
Their contractor applied a commercial mold-remover spray rated for masonry and stucco, using a soft-bristle brush to work into the texture. The stucco was then rinsed at 1,200 PSI — carefully, given the age of the finish coat. After full drying, a clear anti-fungal masonry sealer was applied across the lower 4 feet of the wall. The sprinkler heads were also redirected away from the structure. The homeowner reported zero regrowth six months later.
Key lesson: In high-humidity climates, sealing after cleaning is as important as the cleaning itself — and irrigation systems are a frequently overlooked mold driver.
Prevention Strategies That Actually Work
Cleaning mold once is satisfying. Never having to do it again is the real goal. Here are prevention strategies with a proven track record:
Improve Drainage and Moisture Management
- Regrade soil near your foundation to slope away from the house at a rate of 6 inches per 10 feet.
- Install or repair gutters and ensure downspouts discharge at least 4–6 feet from the foundation.
- Redirect irrigation systems so sprinkler heads don’t spray wall surfaces.
Increase Sunlight and Airflow
- Trim back trees, shrubs, and vines that shade or contact your exterior walls — aim for at least 12 inches of clearance between vegetation and siding.
- Remove leaves and organic debris that accumulate at the base of walls promptly each fall.
Apply Protective Coatings
- After cleaning and drying, apply a mold-inhibiting exterior paint or a clear anti-fungal masonry sealer appropriate for your wall material.
- In 2026, several leading exterior paint manufacturers offer paints with built-in mold and mildew inhibitors that are rated to last 5–7 years in moderate climates.
Schedule Annual Inspections and Cleaning
- A light annual wash — even just with a garden hose and mild detergent — removes mold spores and organic debris before they can establish colonies.
- Inspect caulking around windows, doors, and trim annually. Failed caulk is a major moisture entry point.
Pro Tip: In climates with distinct wet seasons, schedule your exterior cleaning for late spring — after the peak wet period but before summer heat accelerates mold growth. This timing maximizes both cleaning effectiveness and the durability of any protective treatments you apply afterward.
Frequently Asked Questions
Can I use a pressure washer to remove exterior mold safely?
Yes, but with important caveats. A pressure washer can be an effective tool for mold removal on durable surfaces like brick, concrete, and vinyl siding — but it must be used at the right pressure and distance. For most exterior walls, 1,200–1,800 PSI with a 25-degree or 40-degree fan tip is the appropriate range. Keep the nozzle at least 12–18 inches from the surface and spray at a downward angle to avoid forcing water behind siding panels. Never use a pressure washer on surfaces with existing cracks, soft stucco, or older wood siding without testing a small area first. Pressure alone doesn’t kill mold — it removes it from the surface, so always follow up with a biocidal cleaning solution for true remediation.
Is exterior mold dangerous to my family’s health?
Exterior mold presents a lower direct health risk than indoor mold because outdoor air circulation dilutes spore concentrations significantly. However, it becomes a health concern in two scenarios: first, when mold on exterior walls is disturbed during cleaning, releasing large quantities of spores that can be inhaled — hence the importance of wearing a proper respirator; and second, when exterior mold indicates or contributes to moisture penetration into wall cavities, where indoor mold can develop. Certain mold species — most notably Stachybotrys chartarum (black mold) — can produce mycotoxins that are harmful if inhaled in sufficient quantities. If you’re uncertain about the species you’re dealing with or if anyone in your household has respiratory sensitivities, consult a professional mold inspector before cleaning a large infestation yourself.
How long does it take for mold to come back after cleaning?
Without addressing the underlying moisture source, exterior mold can return within 4–8 weeks in warm, humid conditions. With proper cleaning, moisture management, and a protective sealant or mold-inhibiting paint applied afterward, most homeowners can expect 1–3 years before any meaningful regrowth occurs — and often longer if annual maintenance washes are performed. The biggest predictor of recurrence is whether the root moisture problem has been resolved. Mold is remarkably persistent: if the conditions that allowed it to grow remain unchanged, no cleaning solution is a permanent fix. Think of cleaning as the treatment and moisture management as the cure.
Your Clean Exterior Roadmap: Next Steps
Tackling exterior mold doesn’t have to be overwhelming. What starts as an intimidating green patch on your siding becomes entirely manageable once you break it into the right sequence of actions. Here’s your immediate implementation checklist:
- ✅ This weekend: Walk around your home and document all mold and mildew locations with photos. Note wall materials, affected areas’ sun exposure, and any obvious moisture sources above or near the patches.
- ✅ Before you clean: Address any gutter clogs, misdirected sprinklers, or overhanging vegetation. Purchase your chosen cleaning solution and safety gear.
- ✅ Cleaning day: Follow the step-by-step process outlined above, choosing the solution appropriate for your wall material. Work in mild, overcast weather — not on hot sunny days when solutions evaporate before they can dwell.
- ✅ 48–72 hours after cleaning: Inspect results, apply a second treatment if needed, and once dry, apply a mold-inhibiting sealer or paint to protected areas.
- ✅ Set a calendar reminder: Schedule an annual exterior inspection and light cleaning wash every spring.
As climate patterns continue shifting in 2026 and beyond — bringing wetter winters and more humid summers to regions across the globe — exterior mold management is becoming less of an occasional chore and more of a routine home maintenance discipline. Homeowners who build it into their annual care schedule will spend less money, protect their property values, and avoid the far more expensive interventions that come from letting moisture problems compound over years.
Here’s the question worth sitting with: What’s the cost of one afternoon’s work cleaning your exterior walls compared to the cost of replacing damaged siding, treating interior mold, or repainting an entire facade? The math is clear — and your home’s exterior is worth the attention. Which wall are you starting with?